Good afternoon! I am super ecstatic to share the first phase of my do-it-yourself Mei Tai from a tablecloth!

I actually found this table cloth a few weeks ago when I was thrift shopping for potential materials to make a wrap out of. I scored this Target brand tablecloth for a whopping $2.99! Unfortunately, when I got home and measured it, it was too small to turn into a shorty [wrap] so I figured I'd just turn it into a ring sling. Then I came across this blog for a DIY Tablecloth Mei Tai and I was sold on the idea. All of my ideas come from the You're Sew Crafty blog. Check out her instructions at youre-sew-crafty.blogspot.com. She did an excellent job explaining it all! I took her instructions and made an outline of it, because I needed a simpler way of viewing what she said and I like outlines. :)
Tablecloth Mei Tai
I. Things Needed
A. Tablecloth
1. Body - about 20in x 15-20in
a. Need three pieces, two pretty ones and one heavy duty twill or canvas
2. Shoulder Straps- 80in long x 15in wide
3. Waist Straps- 40in long x 15in wide (my fabric was only 14in wide)
4. Hood- 10in x 10-15in
B. Fabric
1. If 55-60in on the bolt, you will need about 2.5 yards.
a. Linen works great!
b. Avoid quilter's cotton!
c. Be sure straps and center panel are good quality and medium to heavy weight!
II. Cutting
A. Straps
1. Cut 3 long strips, 15 in wide each
2. Do a rolled hem on the straps
B. Body
1. Measure using baby... For width, measure from center of buttocks to each knee. Landon was 10 inches to each. For height, measure from very bottom to the neck. Landon was 14 inches. Then you want to add about 5 inches to the height to account for the waist straps.
2. Design your pattern. (The YSC blogger suggests using a newspaper. I couldn't find anything big enough so I just went for it and cut our body into a large rectangle. We didn't have enough fabric to do the 20 inches wide so it will be 15 inches wide by 20 inches tall. I then cut the corners off of the top to accommodate for the top straps).

Now all I have to do is borrow my Mom's sewing machine. I should have it by the end of the week. I haven't sewn anything since I was a kid, so I will need to brush up on my skills. I'm pretty excited to get back into it though! The possibilities are endless!
I also have to make one more trip to Hobby Lobby. I didn't know that I needed a thicker material to put in between the two "pretty" body pieces to give it more strength for carrying all that baby weight. I will probably get the strongest material I can find since Landon is almost 26lbs!! I also need to invest in some high quality thread to hold his weight as well. I'll include what I get in the next post.
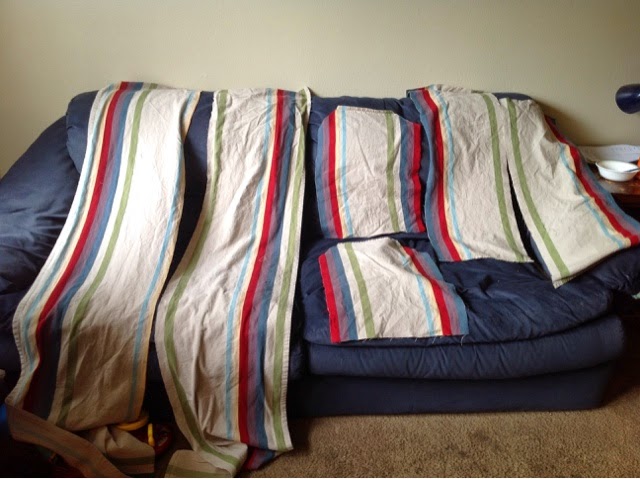
Lastly, I just wanted to include a few photos of what a tablecloth Mei Tai will look like.


Anyway, this is how far I've come so far. Keep an eye out for the post about sewing it all together (and please say a little prayer that it's not a disaster! Haha)
No comments:
Post a Comment